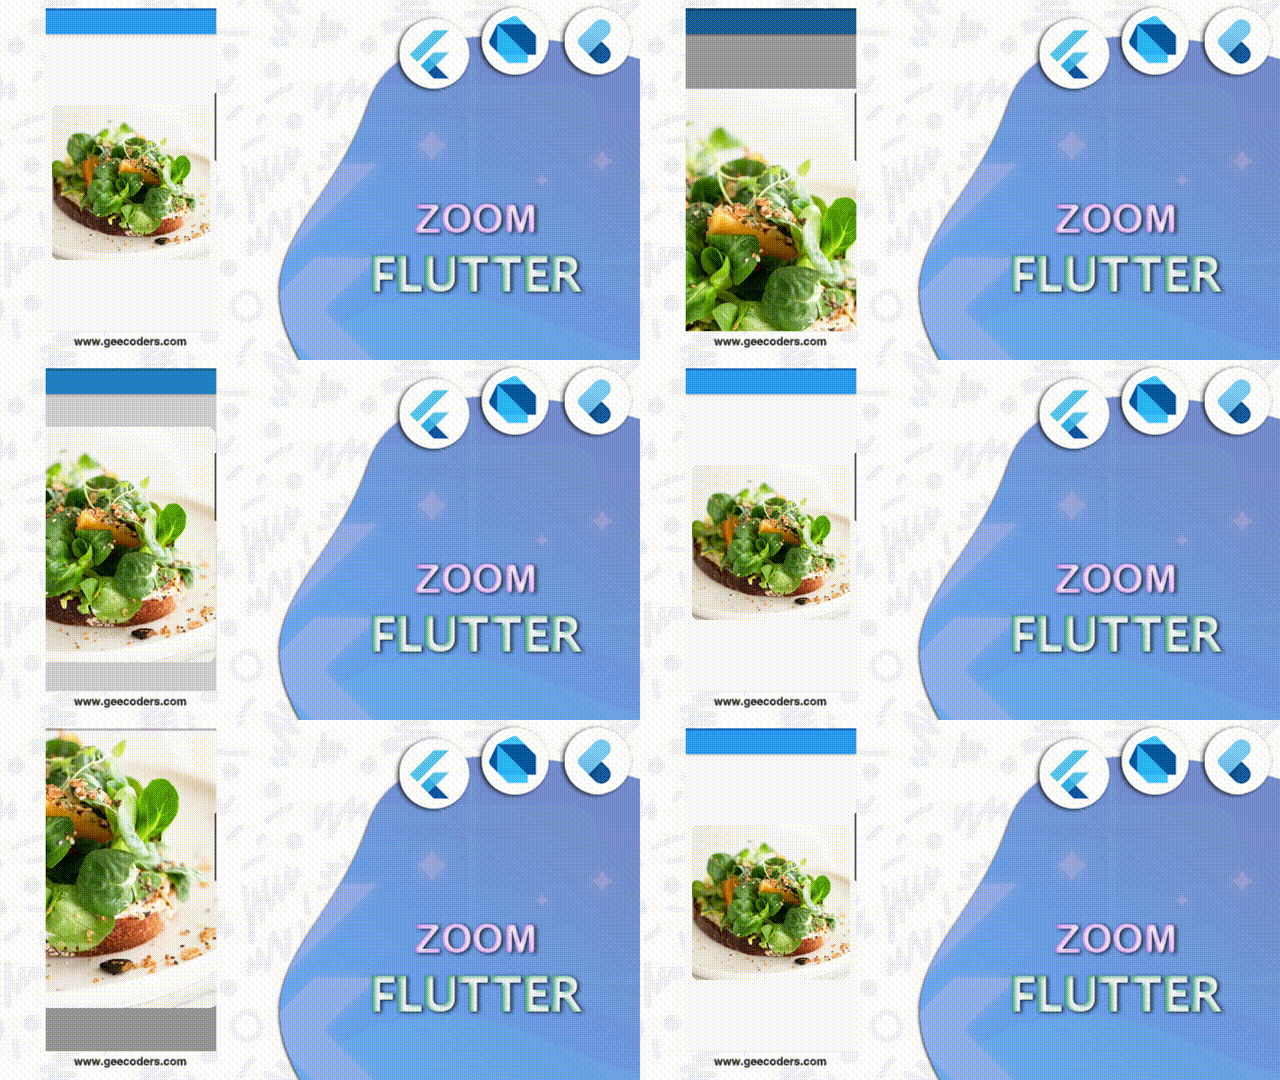
شرح كيفية تكبيره الصورة والتحكم في جميع تفاصيلها بواسطة flutter
كثير من المواقع والتطبيقات نشاهد فيها امكانية تكبيره الصوره عن طريق عمل zoom عليها وفي هذه المقالة سوف نقدم لكم شرح كيفية تكبيره الصورة والتحكم في جميع تفاصيلها في فلاتر بدون اي مكتبات خارجية وهذه العمليه بسيطة جدا وغير معقده ويمكنك استخدامها متى ما تريد في اي صورة لديك سواء كانت الصورة داخل ملفات الاندرويد ستوديو او حتى كانت الصورة تم الحصول عليها من الانترنت وجميع الخيارات متاحه بالنسبة لك .
يعمل Flutter بجد لتوسيع قاعدة الشفرة نفسها عبر أي شيء به شاشة ، بما في ذلك Android و iOS و Web و Desktop ، يمكنك استخدام نفس قاعدة الشفرة بشكل فعال لإنشاء تطبيقات للويب سريع الاستجابة (تتنافس مع أطر عمل SPA مثل React و Angular و Vue) ، وسطح المكتب (يتنافس مع Electron و Qt) ، ونأمل أن تكون الأجهزة المضمنة والمزيد في المستقبل مع القليل من الجهد الإضافي.
ليس من السهل إنشاء العديد من تطبيقات Flutter (تسمى أهداف في Flutter) من قاعدة كود واحدة. من خلال شعارها "اكتب مرة واحدة ، ركض في أي مكان" ، وعدت React Native العالم أيضًا بهذا الشيئ ، ولكن كما يشهد المطورون ، فإن هذا بعيد كل البعد عن الواقع.
تكبيره الصورة عن طريق السحب في فلاتر
يمكنك استخدام الكود التالي داخل المشروع الذي تعمل عليه , وكل ما ستحتاج لتغيره هنا هو اسم الصورة والموجوده في onInteractionEnd حيث تم هنا وضع الصورة يمكنك تغيرها سواء اذا كانت الصورة التي توجدي لديك تم الحصول عليها من السيرفر او حتى كانت من الapi او من الانترنت كل الامور متاحه بالنسبة لك لو تلاحظ ان هنا عندما يتم تكبير الصورة يتم عمل ضباب على العناصر الموجوده في الscreen بنقس قوة تكبير الصورة عندما يزيد التكبير تزيد معه ايضا قوة الضبابيه , كل الاكواد واضحه في الكود وتم كتابة شرح لكل تفصيله داخل الكود لكي تستطيع التعديل عليه .
zoom.dart
class GG extends StatefulWidget {
  const GG({Key? key}) : super(key: key);

  @override
  State<GG> createState() => _GGState();
}

class _GGState extends State<GG> with SingleTickerProviderStateMixin {
  late TransformationController controller;
  late AnimationController animationController;
  Animation<Matrix4>? animation;
  final double minSize = 1;
  final double maxSize = 4;
  OverlayEntry? entry;
  double scale = 1;

  @override
  void initState() {
    super.initState();
    controller = TransformationController();
    animationController =
        AnimationController(vsync: this, duration: Duration(microseconds: 200))
          ..addListener(() => controller.value = animation!.value)
          ..addStatusListener((status) {
            if (status == AnimationStatus.completed) {
              removeOverlay();
            }
          });
  }

  @override
  void dispose() {
    super.dispose();
    animationController.dispose();
    controller.dispose();
  }

  @override
  Widget build(BuildContext context) {
    return Scaffold(
      // backgroundColor: Colors.grey[900],
      appBar: AppBar(
        // backgroundColor: Colors.black87,
      ),
      body: Center(
        // zoom widget
        child: buildZoom(),
      ),
    );
  }

  Widget buildZoom() {
    return Builder(builder: (context)=> InteractiveViewer(
      // black screen for zoom in .
      onInteractionUpdate: (details) {
        if (entry == null) return;
        this.scale = details.scale;
        entry!.markNeedsBuild();
      },

      onInteractionStart: (details) {
        if (details.pointerCount < 2) return;
        if (entry == null) {
          // zoom image above screen
          showOverlay(context);
        }
      },
      // Zoom out when you leave the screen
      onInteractionEnd: (details) {
        if (details.pointerCount != 1) return;
        restAnimation();
      },
      // control transformation
      transformationController: controller,
      // not stir
      // panEnabled: false,
      // max and main zoom .
      maxScale: maxSize,
      minScale: minSize,
      // zoom ful screen .
      clipBehavior: Clip.none,
      child: AspectRatio(
        // size image
        aspectRatio: 1.1,
        child: Padding(
          padding: const EdgeInsets.symmetric(horizontal: 15.0),
          child: ClipRRect(
            borderRadius: BorderRadius.circular(15),
            child: Image.asset(
              images[3],
              fit: BoxFit.cover,
            ),
          ),
        ),
      ),
    ));
  }

  void restAnimation() {
    animation = Matrix4Tween(
      begin: controller.value,
      end: Matrix4.identity(),
    ).animate(
        CurvedAnimation(parent: animationController, curve: Curves.bounceOut));
    animationController.forward(from: 0);
  }

  void showOverlay(BuildContext context) {
    final renderBox = context.findRenderObject()! as RenderBox;
    final size = MediaQuery.of(context).size;
    final offset = renderBox.localToGlobal(Offset.zero);

     entry = OverlayEntry(
      builder: (context) {
        // min and max opacity .
        final opacity = ((scale - 1) / (maxSize - 1)).clamp(0.0, 1.0);
        return Stack(
          children: <Widget>[
            Positioned.fill(
              child: Opacity(
                opacity: opacity,
                child: Container(
                  color: Colors.black,
                ),
              ),
            ),
            Positioned(
                width: size.width,
                left: offset.dx,
                top: offset.dy,
                child: buildZoom())
          ],
        );
      },
    );

    final overlay = Overlay.of(context)!;
    overlay.insert(entry!);
  }

  void removeOverlay() {
    entry?.remove();
    entry = null;
  }
}
لمزيد من مقالات فلاتر يمكنك متابعة احد المقالات التاليه :
- كيفية عمل تأثير تاخير ظهور بعض العناصر لبضع ثواني في Flutter
- حل مشكلة no connected devices found flutter
- شرح إنشاء صفحة onBoarding في flutter تظهر في البدايه
- إضافة ملف للوضع الليلي والصباحي في Flutter
- انشاء Dialog في Flutter وارسال واستقبال البيانات من خلاله


